Open unique Lightbox galleries per image in Squarespace custom grid
On Squarespace, by default, when you add an Image block and enable lightbox for it, clicking the image will open a lightbox that contains only that single image. However, using Lightboxify URLs, you can link each image to its unique lightbox gallery instead of just showing one image.
In this guide, we'll show you how to create a custom grid using image blocks in both Fluid Engine and Classic Sections, where each image opens a different lightbox gallery upon clicking. This allows for unique and dynamic lightbox galleries, perfect for creating a custom experience for visitors.
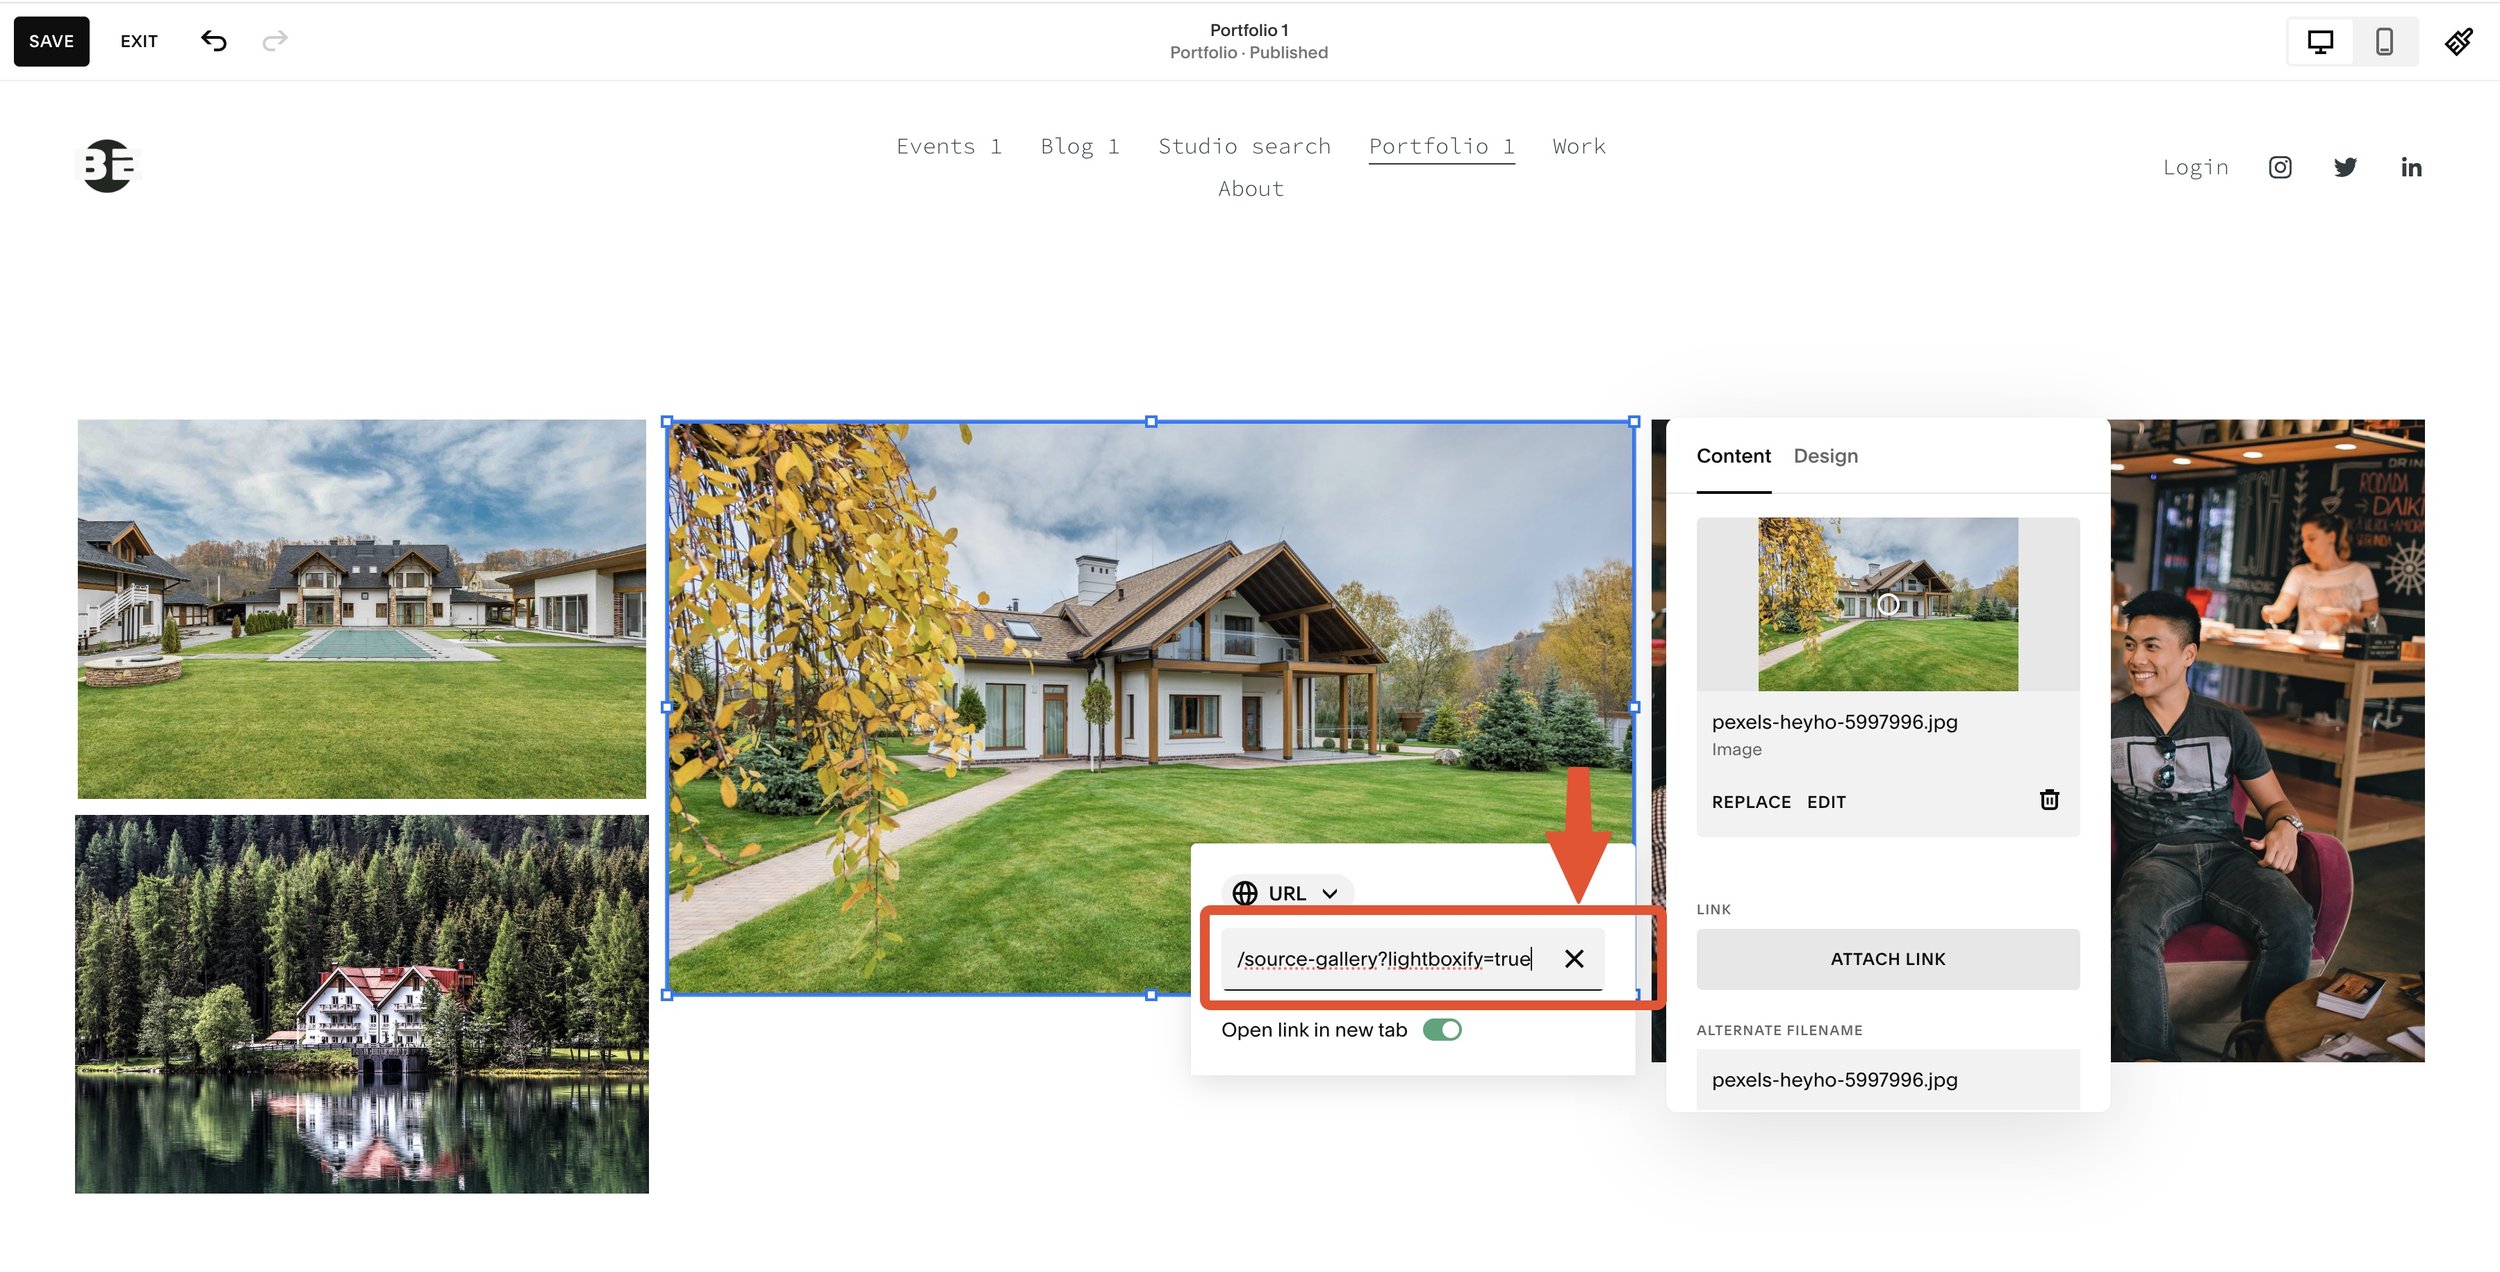
The created custom grid is as followed
Step-by-Step tutorial
This assumes you already had a custom grid made of Image blocks on your page and installed Lightbox Studio plugin
Step 1: Create source galleries
Start by creating source galleries that will house the images for your lightbox galleries:
Create a new page and insert a Gallery block or Gallery section.
Upload your images and videos there
Make sure to note the URL of each gallery page.
Step 2: Create lightboxify URLs
Next, create your Lightboxify URLs for each source gallery:
Use the source gallery page URL and add the
?lightboxify=trueparameter at the end.Grab the Gallery ID (you can use the Squarespace ID Finder)
Section ID: Found in the format
section[data-section-id="661df2d06d4b51239f4e87b7"], use the part after the equals sign (e.g.,661df2d06d4b51239f4e87b7).Block ID: Found in the format
#block-yui_3_17_2_2_1716172038600_2128, use the part after the#(e.g.,block-yui_3_17_2_2_1716172038600_2128).Section anchor ID: you can also use the anchor id of Squarespace section, by edit section -> scroll to Anchor Link and assign your unique anchor ID for the section
For example:
/source-gallery?lightboxify=true#gallery-id
Refer to this blog post for further instructions on creating complete Lightboxify URLs.
Step 3: Insert lightboxify URLs into the image blocks
Insert Image Block: Add the image block to your page.
Select the image block
Attach Link: Click on "Attach link" and use the lightboxify URLs.
Lightboxify URLs to image block
Step 4: Save and preview
Once you've added all the links, save your changes and preview the page. Upon clicking each image block, a separate lightbox gallery will open, showcasing its unique set of media.
Layout support
This method supports image blocks in both Fluid Engine and Classic Sections, regardless of layout, allowing you to create custom layouts with unique lightbox galleries for each image.
Frequently Asked Questions
Question: Can I open a different lightbox gallery for each image in a custom grid?
Yes! This tutorial shows you how to link each image block to its own lightbox gallery.
Question: Can I use video and images in the lightbox gallery?
Yes, learn how to create a video lightbox gallery here and use it as a source gallery
Question: How to open a different lightbox gallery for each image in a grid gallery block
Both Gallery section and block are supported, however, the link insertion method is slightly different for sections and for blocks
Question: Does this method work with Fluid Engine and Classic Sections?
Absolutely! You can use this method in both Fluid Engine and Classic Section layouts.
Question: Can I use multiple source galleries on the same page?
Yes! You can put multiple source galleries and get their unique identifier when refer them using Lightboxify URLs
Pro tip: Add seperate gallery to different section and use Squarespace latest section anchor ID feature to assign unique IDs for them
