Open alternate lightbox images with Lightboxify URLs
In our recent updates, the Lightbox Studio plugin now supports using Lightboxify URLs to display dynamic gallery and video gallery in lightbox. Today, we are excited to announce a new Lightboxify URL type: image.
With this feature, you can provide Image URLs to the gallery clickthrough URLs. Lightbox Studio will automatically display that image instead of the slide's original image. Supported areas are:
Gallery sections layouts (Grid, Slideshow, and Reel)
Gallery blocks Grid layout
Gallery blocks Slideshow, Carousel and Stack
Image blocks (Fluid Engine and Classic Engine blocks)
Get started
The process is straightforward, you will need to grab the Image URLs of the alternate image and insert it into the clickthrough URL of gallery image. First you need ensure Lightbox Studio is installed and activated
Step 1: Upload Images and get Image URLs
Option 1: Upload image to Asset Library: you can use the image upload feature in Image blocks, Gallery blocks, or sections, or go directly to the Asset Library to upload the image. To quickly grab the Image Asset URLs, use this tool.
Option 2: Upload to Custom CSS Custom Files or Link Manager File Upload Follow these tutorials, these method allow you to upload original image without Squarespace processing.
Converting Image URLs to Lightboxify URLs
After obtaining the image URL, you need to convert it into a Lightboxify URL to let Lightbox Studio know that you want the image to display in a lightbox instead of opening the clickthrough link in a new tab.
To do this, append the lightboxify parameter to the URL:
File URL:
file.jpgLightboxify URL:
file.jpg?lightboxify=trueDisable Lightboxify (normal link):
file.jpg?lightboxify=false
Note for Squarespace Gallery Users
By default, when an image URL is used in galleries, it is automatically converted to a Lightboxify URL. You don't need to explicitly add the lightboxify parameter.
Step 2: Add the Image URLs to gallery image clickthrough
Steps are slightly different between Gallery layouts, make sure to enable lightbox for the Gallery
Gallery sections
Use clickthrough Link to insert alternate image URLs, the process is same for all Gallery sections layout. Check out this tutorial to learn how to enable lightbox for Slideshow and Reel layouts
Add a page with a gallery section to your site, or click an existing page with a gallery section in your Pages panel.
Click Edit on the page.
Hover over the gallery section and click Edit gallery.
Click the image where you want to add the clickthrough URL.
In the Link field, enter a URL, or click Gear icon for more options.
Here's an interactive tutorial
** Best experienced in Full Screen (click the icon in the top right corner before you begin) **

Gallery blocks: Slideshow, Carousel and Stack layout
Add clickthrough URLs to gallery blocks with uploaded images. Checkout this tutorial to learn how to enable lightbox for Slideshow, Carouse and Stack
Add a gallery block to your site and upload your images, or edit an existing gallery block.
Hover over the image where you want to add the clickthrough URL, and click Gear icon
Click Click to add URL... to open the link editor.
Click click External to add the Image lightboxify URLs
Click Save.
Here's an interactive tutorial
** Best experienced in Full Screen (click the icon in the top right corner before you begin) **
Gallery blocks: Grid layout
On Gallery block: Grid layout, enabling lightbox will override the clickthrough URLs, that why we need to insert the lightboxify into the image caption instead. If set up properly, the lightboxify URLs will be stayed hidden on the caption, as we just need the alternate image URLs to be used:
Hover over an image in the gallery block editor.
Click Gear icon
Enter a new line on description, type in a text for the lightboxify URL, for example: alternate-image
Use the Link icon to add the image lightboxify URLs to the created text
Note to Readers: For this type of gallery, you must explicitly set the lightboxify URL parameter to true to differentiate it from other types of links. For other gallery layouts, the lightboxify parameter can be omitted when using clickthrough.
Here's an interactive tutorial
** Best experienced in Full Screen (click the icon in the top right corner before you begin) **
Image blocks
Image blocks clickthrough URLs and image lightbox won’t work together, so ensure you have turn off lightbox for Image block: Inline layout and Fluid engine Image block (these are the only layouts of Image blocks that support lightbox).
We will use lightboxify URLs to turn lightboxes on Image blocks and show alternate images
Add an image block to your page, or select an existing image block.
You can click the link icon in the block toolbar, or click the pencil icon to open the image block editor, then click Attach Link.
For some image block layouts, choose On Image or On Button before Attach Link appears.Add the lightboxify URL in the URL field
Here's an interactive tutorial
** Best experienced in Full Screen (click the icon in the top right corner before you begin) **
How to Redirect Clickthrough URL Instead of opening Alternate image
By default, if you insert an image URL into the Link input of the supported gallery and image, it will automatically convert into a Lightboxify URL, effectively displaying as an alternate image on the lightbox (except for the Gallery block: Grid layout). If you want it to be a normal clickthrough link, insert the lightboxify=false parameter. This will turn the URL into a normal link and will navigate away when clicked.
https://file.jpg?lightboxify=false
Step 3: Save and Preview
Ensure the gallery is lightbox enabled and preview the feature on live site. Check the demo gallery on this page
Use Cases for Lightboxify URLs image
Using Lightboxify URLs is useful when you need to display a different image other than the slide image. Another advantage is that it can extend the zoom quality and zoom level of your Lightbox images. As pointed out in this post, Image Assets of Squarespace are limited to 2500px in width. However, this image resolution limit does not apply to Custom files upload, provided the image size is under 20MB. You can upload a high-resolution image into Custom files and turn it into a lightbox image, providing a much better zoom quality.
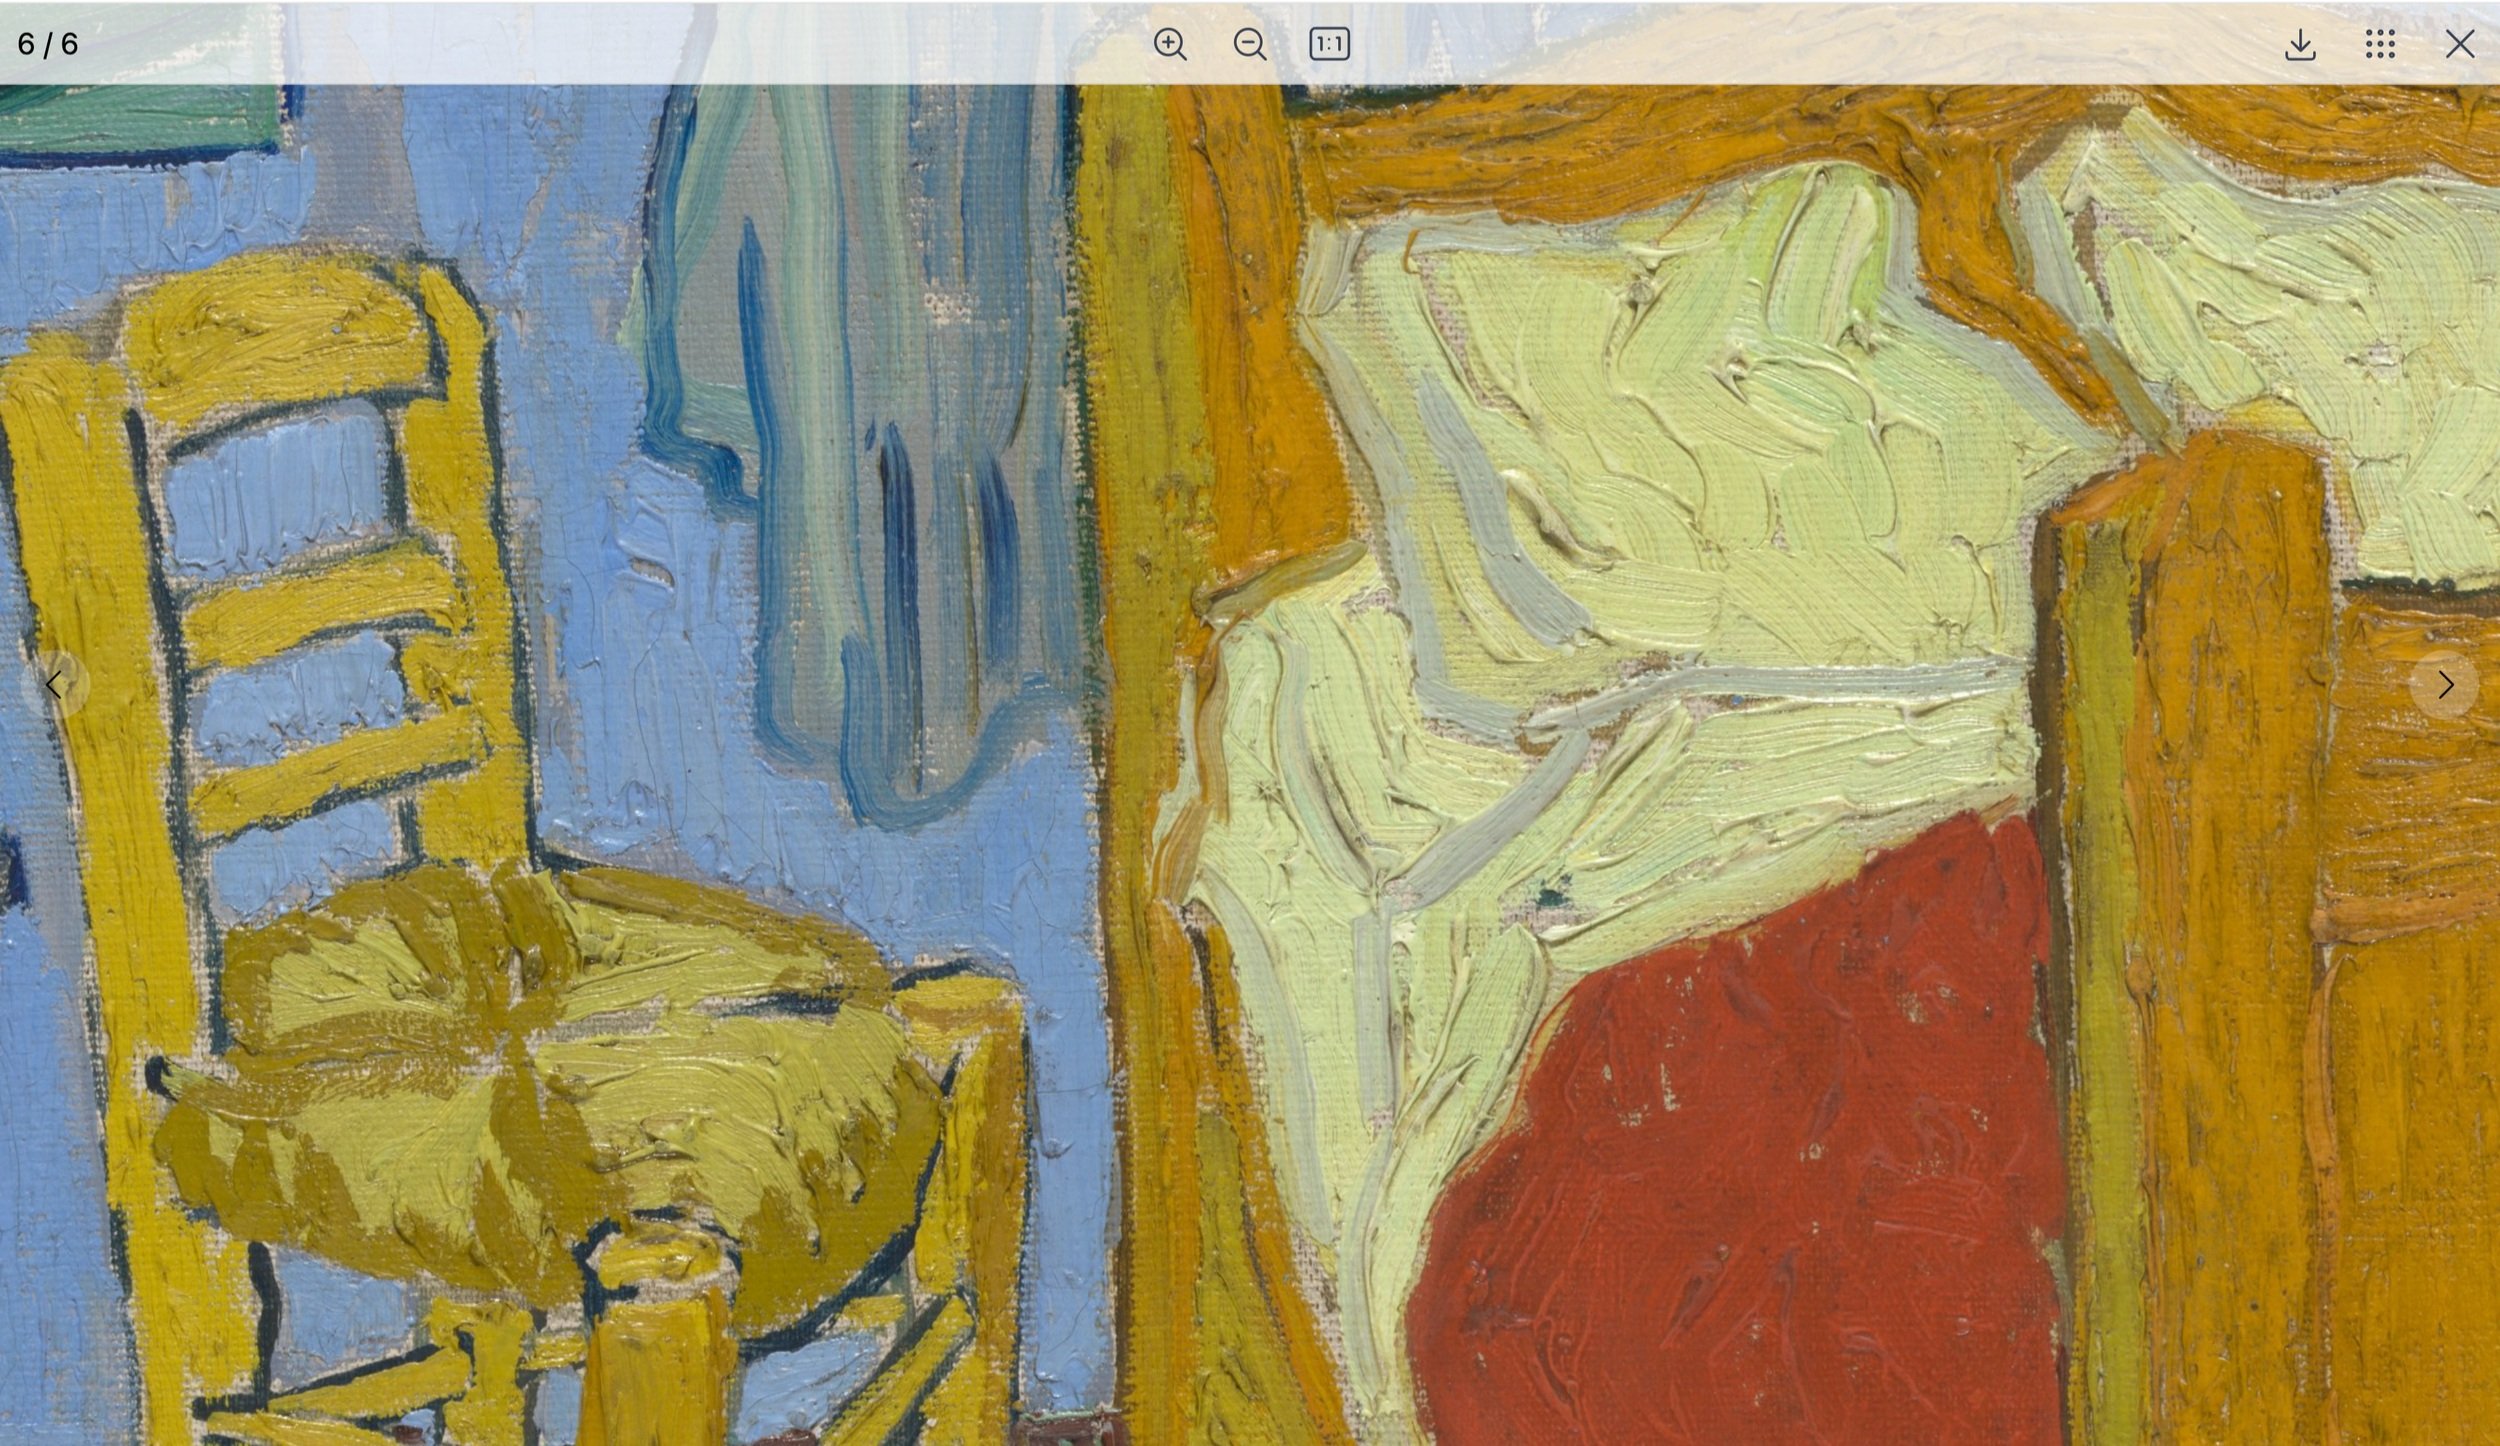
Can you spot the difference in zoom quality in these pictures? Both are displayed in the lightbox gallery at the same zoom level.
Original file: 12MB, resolution 8211 x 6501 (53MP)
Processed Image Asset: 1.3MB, resolution 2500 x 1979 (5MP)
The smaller size and resolution of the processed image lead to snappier performance and quicker load times. However, the original file, with its much larger resolution, offers better zoom quality. It's worth using the original file in the lightbox to maintain zoom quality without affecting the website's overall load time.

High-Res Zoom Mode (BETA)
Squarespace limits the image asset size to 20MB and will resize your image to 2500px wide, but it does not limit the height! The supported resolution is up to 120MP. By leveraging this, you can increase the zoom level and quality of your images. This method requires preprocessing: split the original image into a grid and combine them vertically.
Based on the resolution of the original image, you can slice your image into 2, 4, 6, 8, or more pieces, ensuring the max width of each slice is 2500px. When combined into full resolution on Lightbox mode, it can increase the zoom quality compared to the slide image.

Hires Zoom explain
Use your preferred image editor to do this processing, if you are using MacOS, follow this tutorial for using Shortcut to combine the splitted images. Once you have the sprite image, upload it into the Asset Library. Copy its URL and paste it into the Slide image link. To let Lightbox Studio detect these high-res images and combine them, insert a URL parameter to specify your image grid:
Parameter: lightboxify-hires
Values:
1x2for 2 slices,2x2for 4 slices,2x3for 6 slices,2x4for 8 slices.

Image Lightboxify URL params
Comparing High-Res Zoom Mode vs. Custom File Upload
While uploading directly to Custom files is more straightforward and generally provides better image quality (as it bypasses Squarespace processing), using High-Res Zoom Mode offers several advantages:
Manageability: Upload high-res zoom images into the Asset Library and use folders to keep them organized.
Compression: Squarespace's image processing compresses the file size, which can reduce load time while maintaining resolution. This can also take advantage of the seven versions generated by Squarespace for different use cases. For example, using the medium version at 1500px wide instead of the biggest version at 2500px can keep the image crisp while increasing performance and load time.
The table below shows the differences between the original file, processed image asset, and various sprite file configurations:
Quality Comparison Table
| Type | Resolution (Vertical) | Resolution (Merged) | Size |
|---|---|---|---|
| Original File | - | 8211 x 6501 (53MP) | 12MB |
| Processed Image Asset | - | 2500 x 1979 (5MP) | 1.3MB |
| 1x2 Sprite File | 2500 x 7918 | 5000 x 3959 | 4.8MB |
| 2x2 Sprite File | 2500 x 7917 | 5000 x 3959 | 4.8MB |
| 2x3 Sprite File | 2500 x 17,811 | 7500 x 5937 | 9.8MB |
| 2x4 Sprite File | 2052 x 26,000 | 8208 x 6500 | 11.6MB |
| 2x4 Sprite File (1500w) | 1500 x 19,006 | 6000 x 4751 | 6.7MB |
Let’s preview the zoom quality based on these pairs, the Sprite files (2x3, 2x4 at 1500w) offers a higher resolution than the processed image asset, providing improved zoom quality while maintaining a reasonable file size for performance.


Best Practices
While providing the highest image quality possible to let users explore your assets in detail is tempting, it is essential to balance performance and quality. Using too large images or too many of them in the lightbox may reduce performance and negatively affect the user experience.
If you are willing to preprocess the images before uploading, using hires zoom will offer much flexibility to your images. This approach allows you to try different variants while keeping the file size reasonable.
To preview the feature, follow these steps:
Create the Gallery Section and Upload Your Assets
Set up your gallery section in Squarespace.
Upload the images you want to include.
Assign Clickthrough URLs Properly
Follow the instructions above to assign the correct clickthrough URLs to your gallery images.
Preview the Plugin on Our Playground
Learn how to preview the plugin on our dedicated playground to preview the plugin without purchasing.
Conclusion
It is understandable why Squarespace limits the image width to 2500px; they aim to ensure your website loads quickly and remains responsive. The Image Lightboxify URLs will provide you the flexibility to offer your images at higher resolutions without compromising site performance.
Offering high-quality zoom image features in a lightbox can make your content more engaging, keeping visitors around much longer to explore your content, and positively impacting your website. By balancing image quality with performance, you can ensure an optimal user experience that showcases your media effectively. Implementing these features can enhance visitor interaction, leading to a more engaging website and potentially increasing conversions.
Ready to apply what you’ve learned in this tutorial? You can now enable the Lightbox Studio Free Trial directly from your Ground Control dashboard.
Notice: The trial allows you to test all premium features for free; a license is required to keep them active on your live site.
→ Install Ground Control to Enable Trial